Zapier integration
Generate invoices, packing slips, proposals, and other PDFs when something happens in another app. Add ShipPDF → Generate PDF to your Zap, map data into a published template, and pass the finished PDF to a storage or email step.
This example uses a Shopify order to create a packing slip. You can use the same approach with form responses, spreadsheet rows, or CRM records.
Before you start
You need a Zapier account, a ShipPDF workspace with API access and generation credits, and a published template. Your Zapier plan must support the apps and steps you choose.
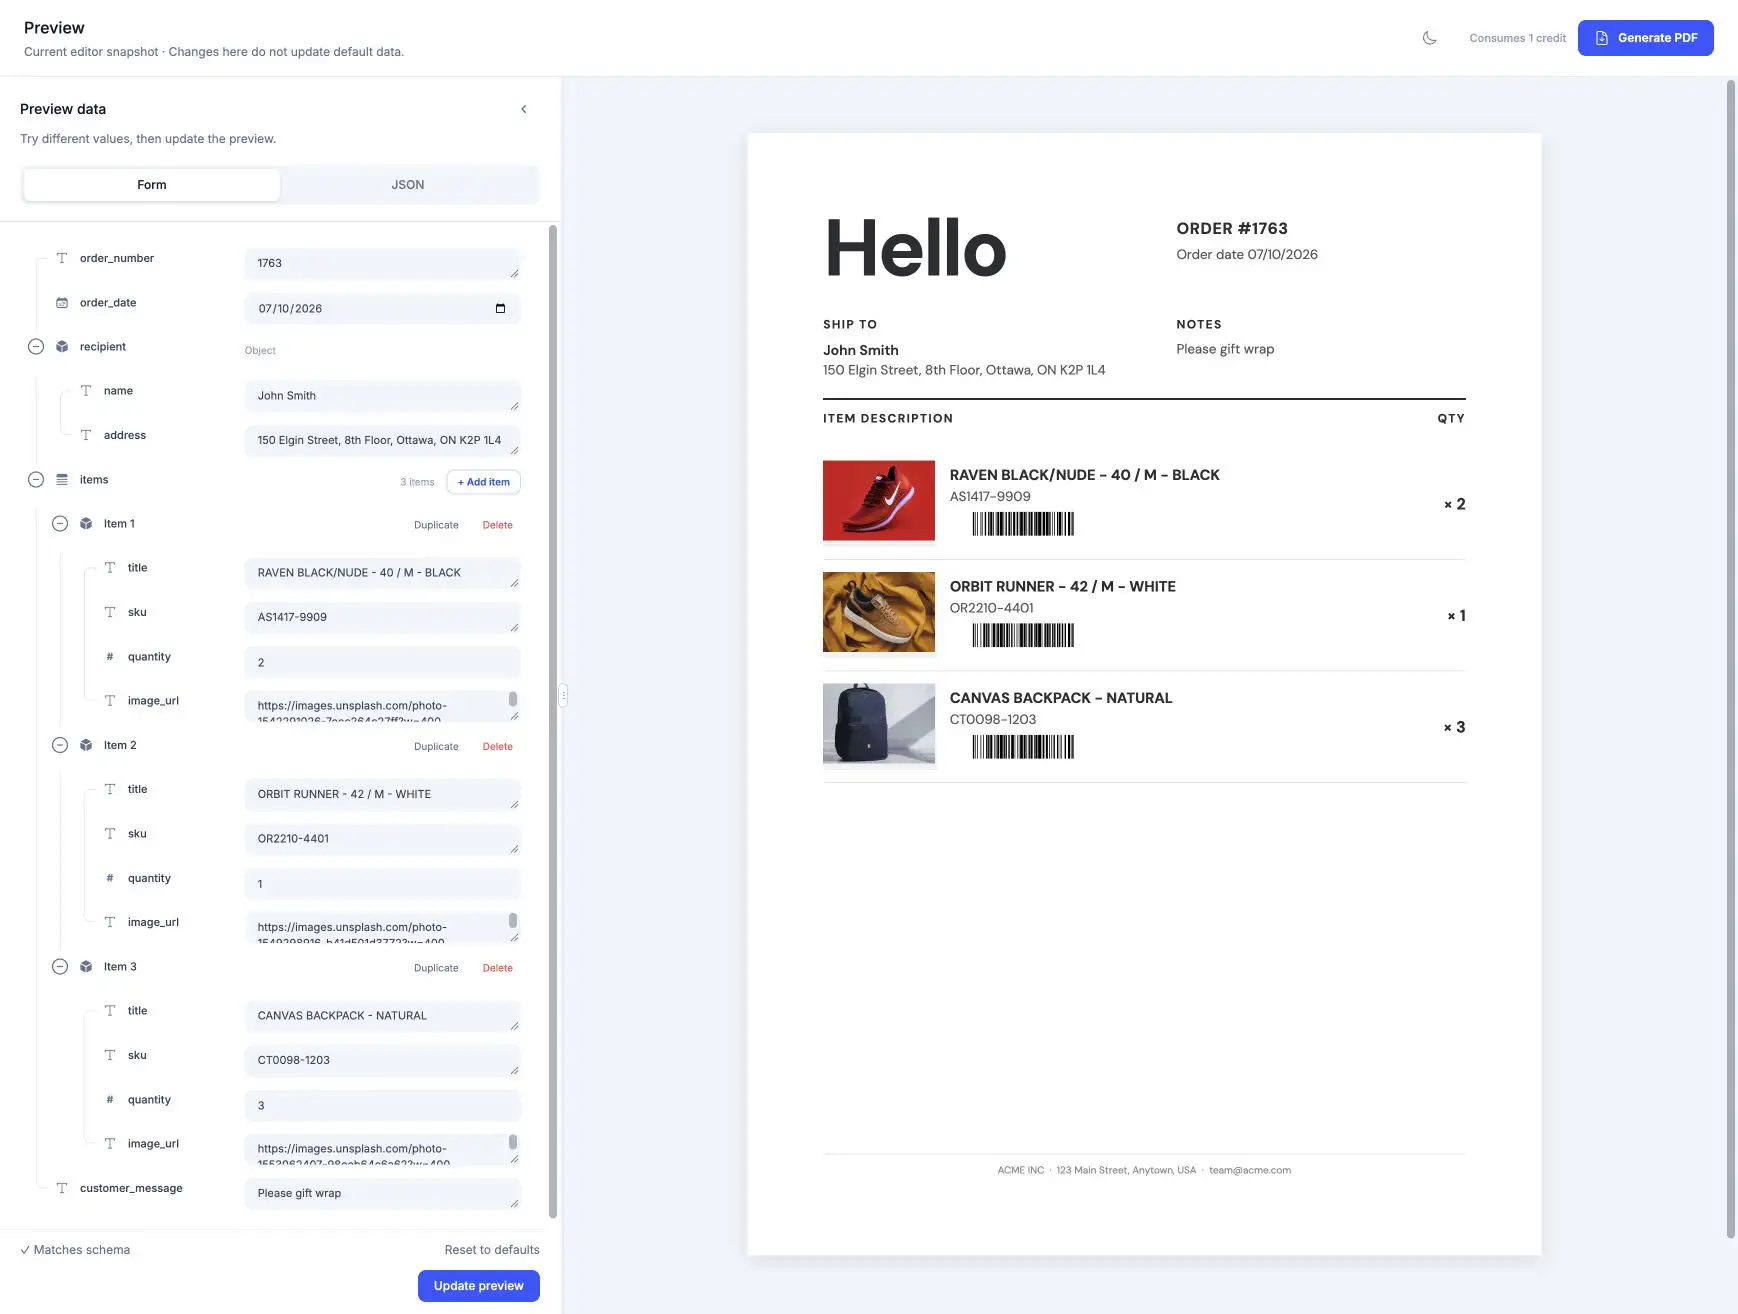
Design the layout and define its input fields in ShipPDF first. For a packing slip, use fields for the order number, recipient, shipping address, and a collection of products. See Create your template if you need a starting point.
1. Connect ShipPDF
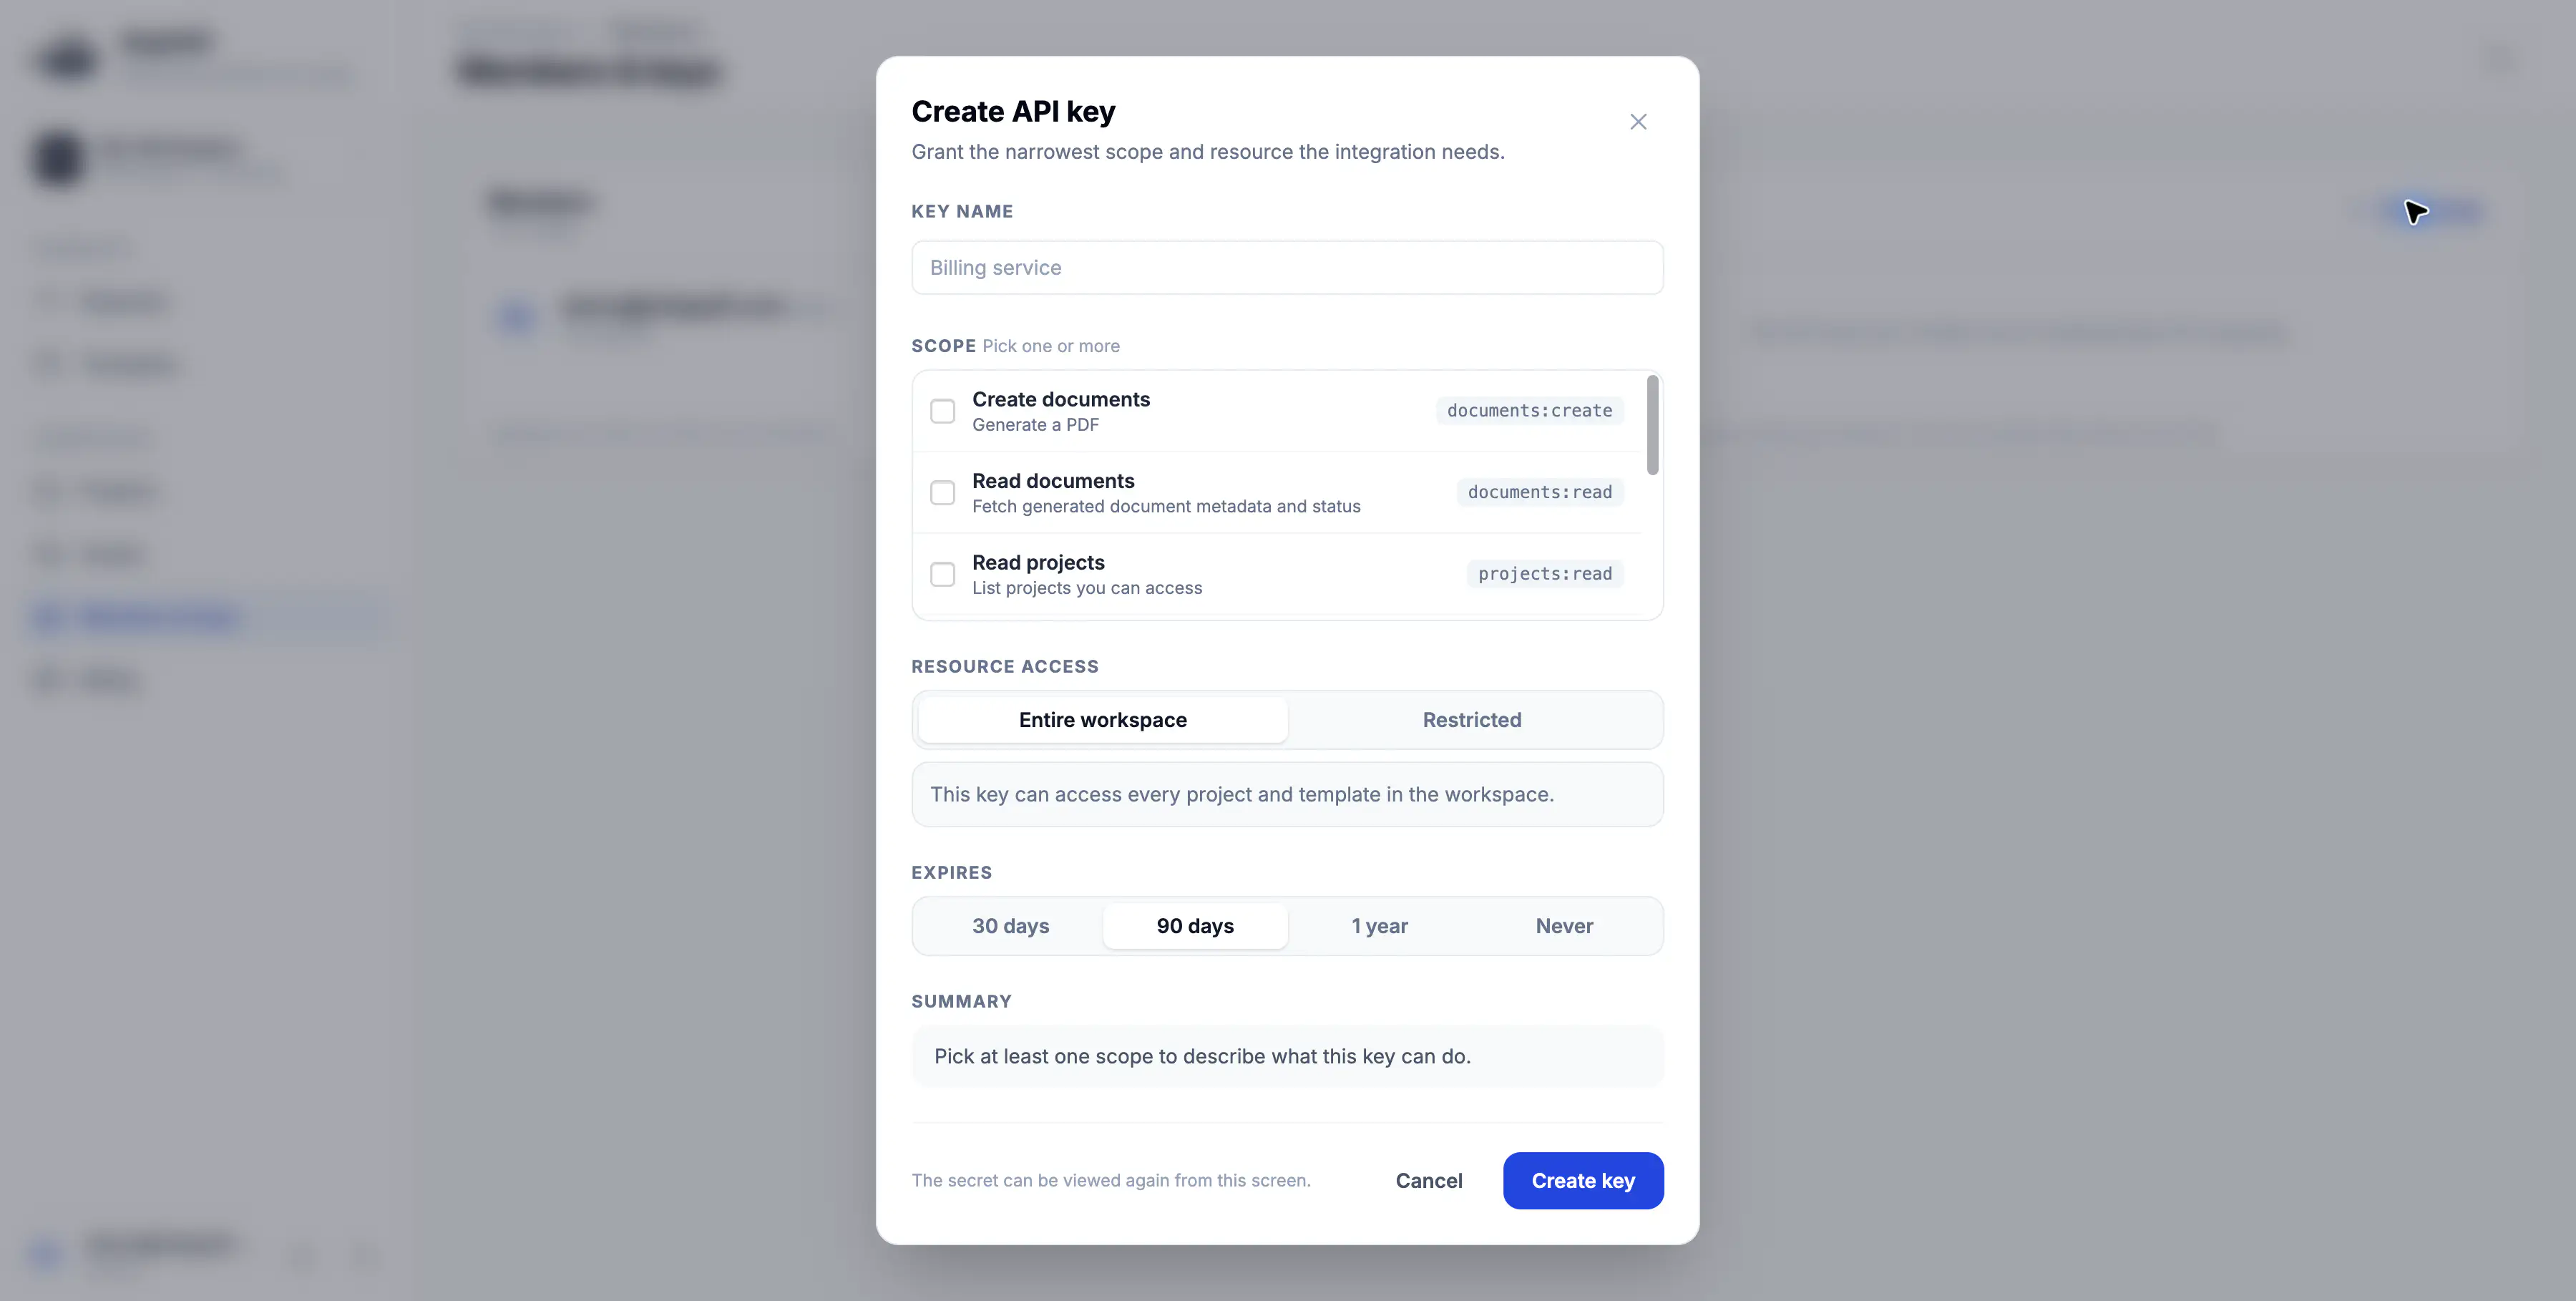
- Open your ShipPDF workspace’s API keys page and choose Create key. Give it a name such as “Zapier”.
- Enable
projects:read,templates:read,documents:create, anddocuments:read, and allow access to the project or template you want to use.
- In Zapier, add the ShipPDF app, choose Generate PDF, and connect an account.
- Paste your complete ShipPDF API key into API Key and finish connecting.
The connection determines which workspace, projects, and templates your Zap can access. See Authentication for more about API keys and permissions.
2. Choose your trigger
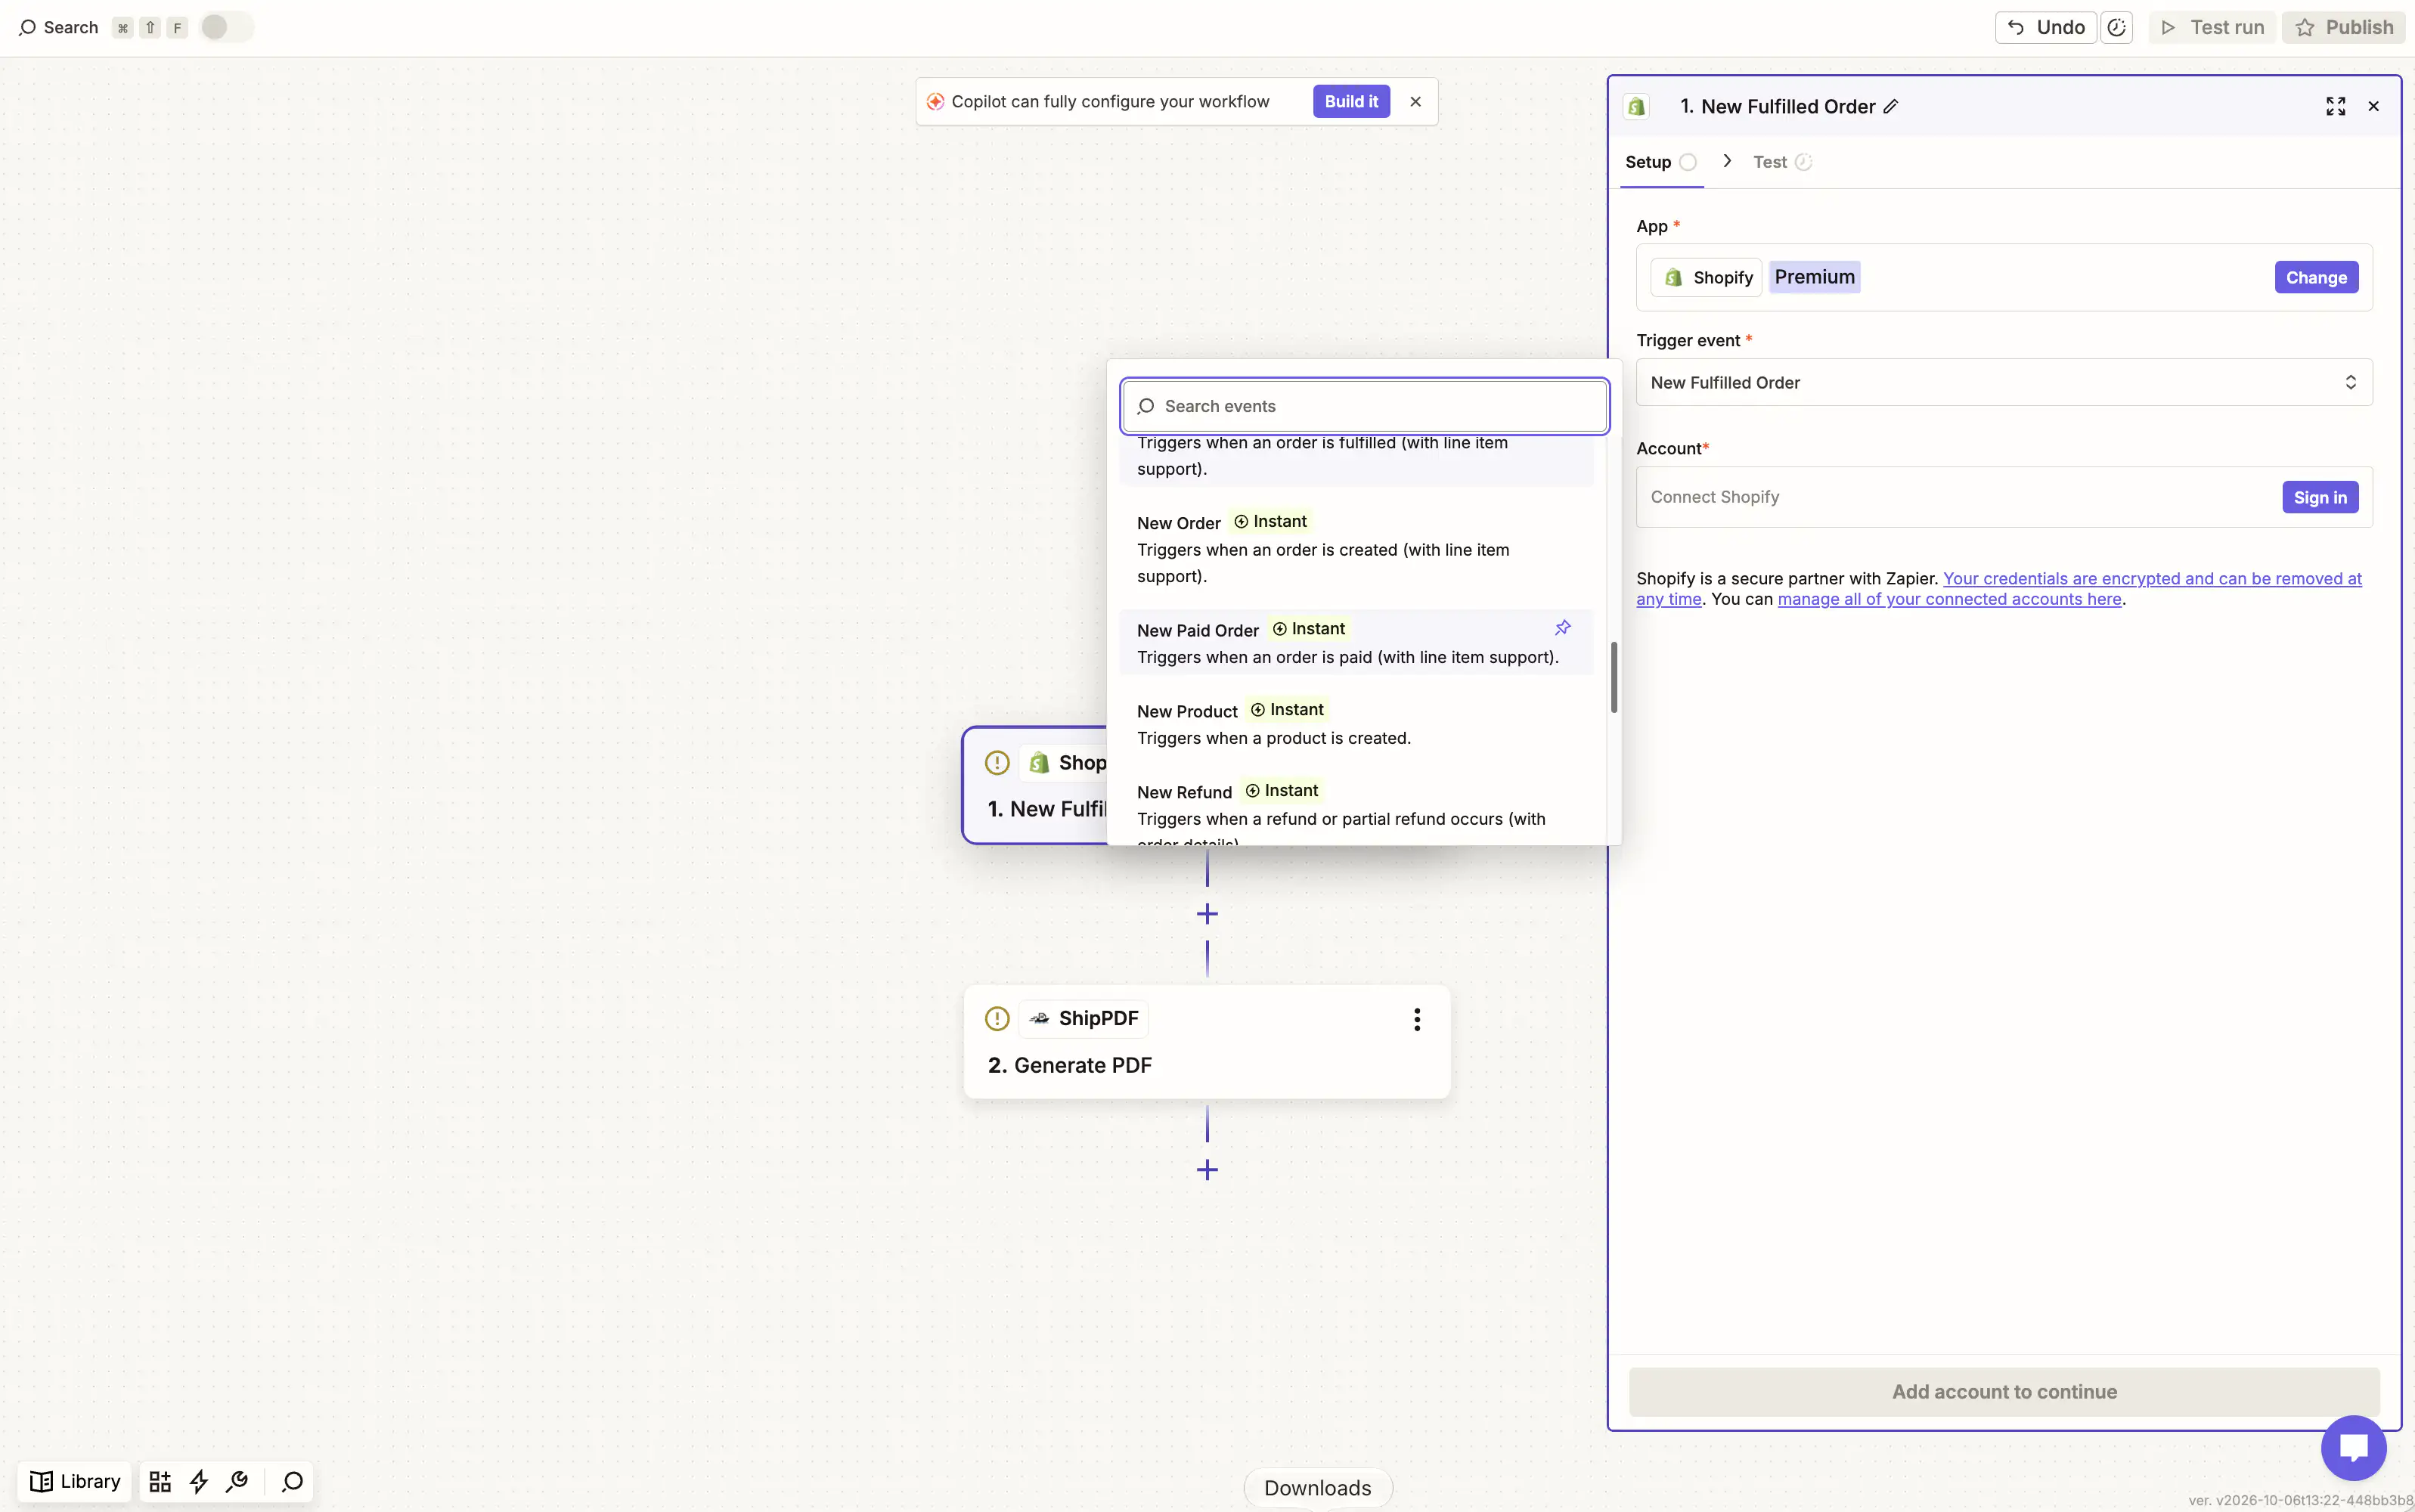
Create a Zap with the app that supplies your data. For this packing slip example, choose Shopify → New Paid Order, connect your store, and test the trigger with a representative order.
Use an order with multiple products so you can check that each product keeps its correct SKU and quantity. This example assumes the whole order ships together. For split shipments, supply the items and quantities for the actual package instead.
3. Select a template and map fields
In ShipPDF → Generate PDF, select your connection, Project, and Template. The action loads the input fields from the published template. Map each one to a value from your trigger or an earlier step.
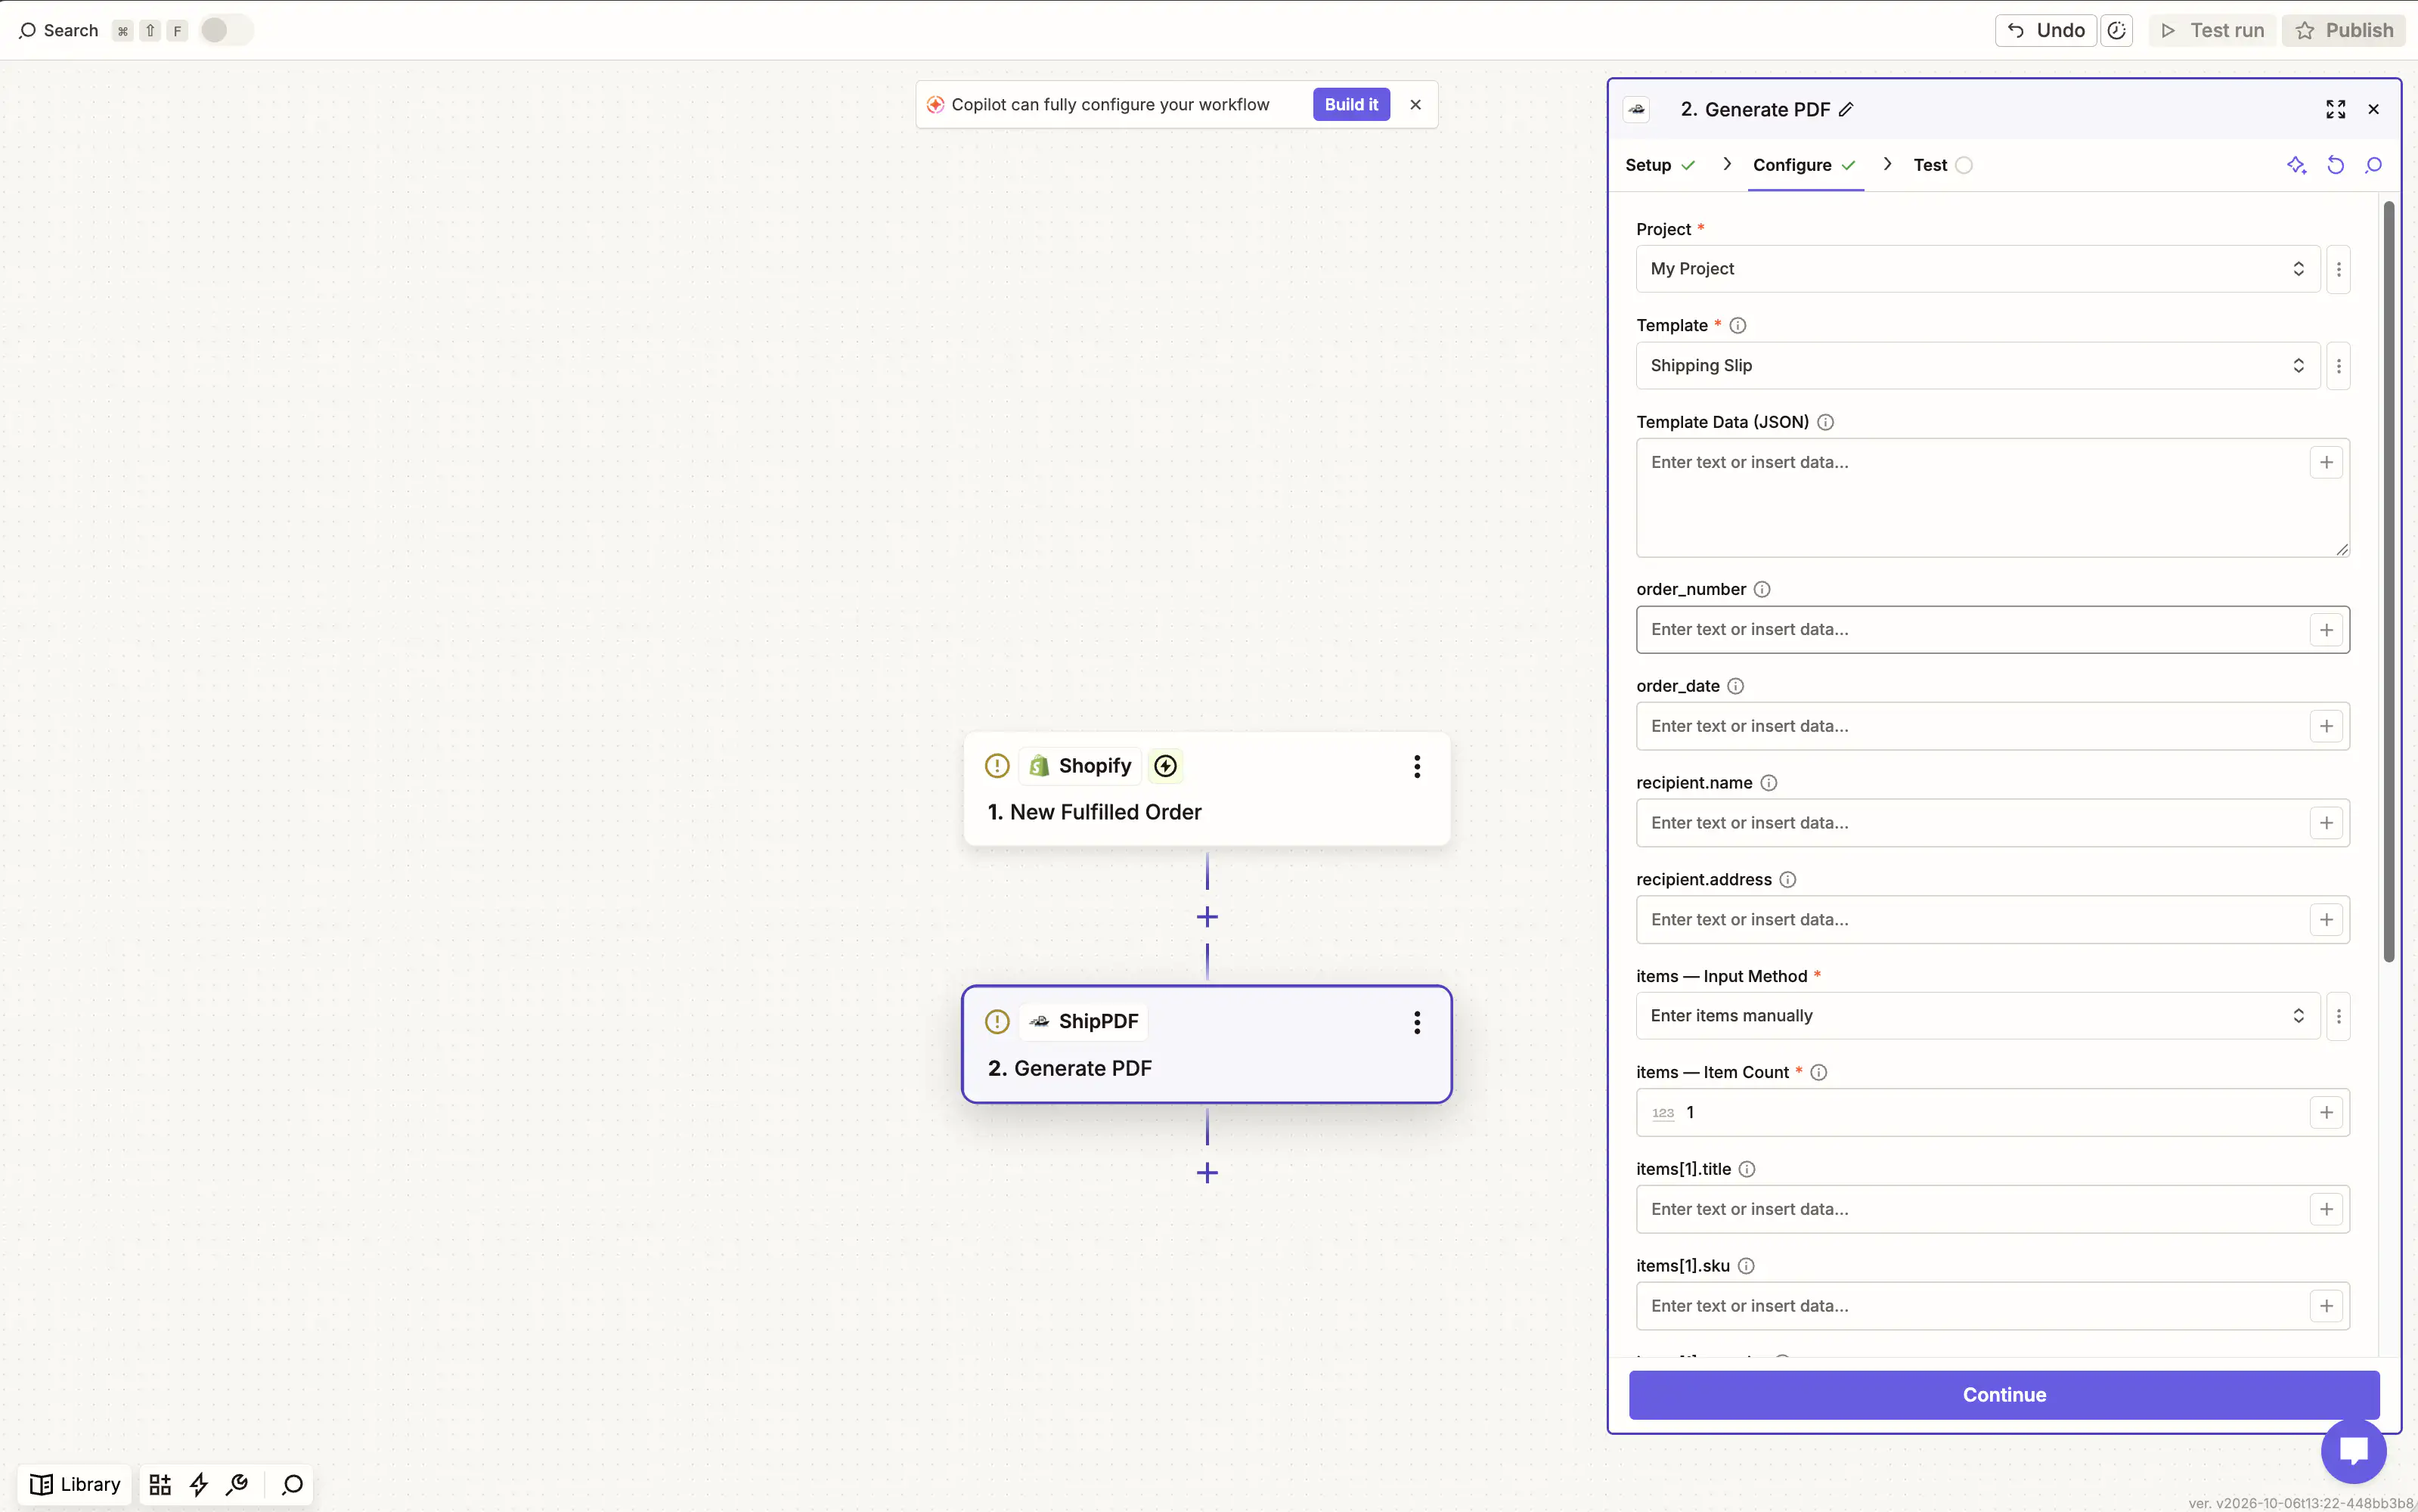
| Template field | Example source |
|---|---|
order_number |
Order name or number |
order_date |
Order date |
recipient.name |
Shipping recipient’s name |
recipient.address |
Shipping address, with line breaks |
items |
Product line items |
customer_message |
Customer-facing note |
Your field names depend on your template. Use the shipping recipient and address for a packing slip, and check that dates and numbers match the template’s expected types. Calculated fields are handled by the template.
Repeating items
For a collection such as items, choose its Input Method:
- Map line items from another step: map product title, SKU, quantity, and other columns from the source step’s line items. Use this for a variable number of products.
- Enter items manually: set a fixed Item Count, then fill or map the numbered fields for each item.
- JSON (advanced): supply an array of objects using the collection’s field names.
Keep each product’s values together in one row. If fields do not update after changing the method or item count, use Zapier’s Refresh Fields control.
You can also use Template Data (JSON) for the complete data object. Enter the template’s input data directly, without an extra data wrapper. Explicit scalar field mappings override matching JSON values; the selected collection method supplies that collection.
4. Test generation
Set Idempotency Key to a unique reference for the intended document, such as shopify:ORDER_ID:packing-slip-v1, with the order ID mapped from the trigger. Reuse the key when retrying the same document; use a new key for an intentionally new or corrected PDF.
Test Generate PDF. A real test request uses a generation credit. In a live Zap, the action waits for generation to finish before continuing. The Zap editor’s test can return a queued document instead; use ShipPDF → Find Document with its document ID to check its status and retrieve the PDF when ready.
5. Save or send the PDF
Add the destination action after Generate PDF. Map PDF Download URL into a file field in your storage or email app, and choose a recognizable filename such as packing-slip-ORDER_NUMBER.pdf.
Download links expire, so store the actual PDF file if you need a lasting copy. Find Document retrieves a fresh link for the same document without generating another PDF. Check that its status is completed before delivering it; the search does not wait for generation.
Test the complete Zap, check that the saved file opens and contains the right data, then publish it. Saving or sending a PDF does not start a physical printer; printing needs a separate step or service.
For the longer Shopify example, see Customize and automate Shopify packing slips with Zapier. For request schemas or a custom API workflow, see the API reference.